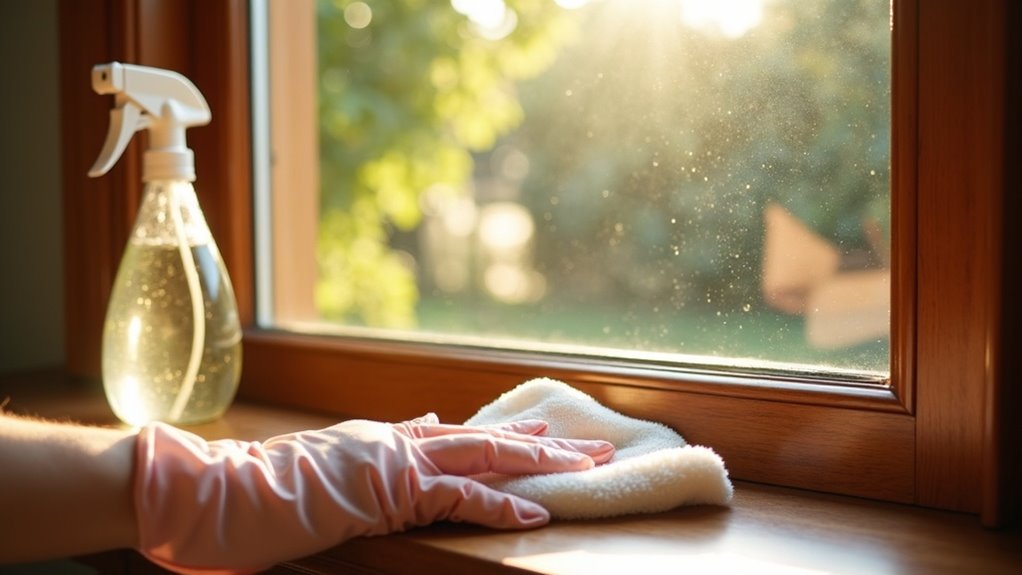
To clean your storage shelves, start by emptying them completely and inspecting each item for damage. Declutter by discarding or donating what you don’t need. Dust surfaces with a soft cloth and vacuum hard-to-reach spots. Create a cleaning solution using dish soap and warm water, and wipe down the shelves. Handle stubborn stains with a baking soda paste or vinegar mix. Once cleaned, you can learn how to keep them organized and maintain that freshness.
Key Takeaways
- Empty shelves and inspect items for damage, discarding or donating unneeded items to declutter.
- Dust surfaces using a soft-bristle brush or microfiber cloth, and vacuum hard-to-reach areas.
- Create a cleaning solution of mild dish soap and warm water for general cleaning purposes.
- Tackle stubborn stains with a baking soda paste or vinegar-water mix based on the stain type.
- Establish a routine cleaning schedule every 2-4 weeks to maintain cleanliness and organization.
Preparing for Cleaning: Emptying Your Shelves
Before diving into the cleaning process, you should start by emptying your shelves to create a clear workspace. Remove everything and take the time to inspect each item for damage. This is your chance to declutter; discard or donate items that no longer serve a purpose.
As you remove items, categorize them to simplify the reorganization later. Make certain the surrounding area is also clear to avoid obstacles while cleaning, preventing dirt from accumulating again.
Use this opportunity to assess your storage needs, allowing for a more clean and organized space that better suits your lifestyle and service to others.
Dusting and Initial Cleanup
With your shelves now empty and clutter assessed, it’s time to focus on dusting and initial cleanup.
Start by removing loose dirt and debris with a soft-bristle brush or microfiber cloth. For hard-to-reach areas, use a vacuum cleaner with a brush attachment.
Begin by clearing away loose dirt using a soft-bristle brush or microfiber cloth, and tackle hard-to-reach spots with a vacuum cleaner.
Next, lightly spray a cleaning solution on the shelves and wipe with a damp cloth to remove any remaining grime.
To maintain cleanliness, establish a routine cleaning schedule every 2-4 weeks.
- Remove loose dust with a brush or cloth.
- Vacuum hard-to-reach spots.
- Wipe with a cleaning solution.
Creating Your Cleaning Solution
To create an effective cleaning solution, you’ll need a few essential ingredients.
Start by mixing one part mild dish soap with four parts warm water for general cleaning, and consider adding baking soda for tougher stains.
If you’re looking for a natural disinfectant, combining equal parts vinegar and warm water works wonders, but always test your solution on a small area first to prevent damage.
Essential Ingredients Needed
When tackling the task of cleaning storage shelves, having the right ingredients for your cleaning solution is essential.
You’ll want to prepare a few effective items that cater to different cleaning needs. Here’s a quick list:
- Mild Dish Soap – Mix with warm water for a safe soapy solution.
- White Vinegar and Water – Use a 50/50 mixture as a natural disinfectant to remove grime.
- Baking Soda – Combine with water to create a gentle paste for scrubbing tough stains.
Don’t forget to keep microfiber cloths handy for dusting and wiping surfaces while ensuring a thorough cleaning schedule!
Mixing Ratios Explained
Having gathered the necessary ingredients, it’s time to focus on the mixing ratios for your cleaning solutions.
For general cleaning, mix 1 part mild dish soap with 10 parts warm water to tackle dirt and grime effectively.
For disinfecting purposes, combine 1 part white vinegar with 1 part water to eliminate bacteria safely.
To address tougher stains, create a paste with 3 parts baking soda to 1 part water.
For wood shelves, use a mixture of 1 part vinegar and 3 parts olive oil to clean and polish.
Always test your solutions on a small area first to prevent damage.
Wiping Down the Shelves
Cleaning storage shelves effectively requires a systematic approach, and it all starts with removing every item from the shelves. This allows you to clean thoroughly and spot any repairs needed.
A systematic cleaning approach begins with emptying the shelves, enabling thorough cleaning and identifying necessary repairs.
- Use a soft cloth or microfiber duster to wipe down the shelves, beginning from the top.
- Prepare a cleaning solution with mild dish soap and warm water, applying it with a damp cloth to tackle dust buildup and sticky residue.
- For wooden shelves, finish with wood polish to enhance shine and protection.
Ensure the shelves are completely dry before returning items to avoid moisture damage.
Tackling Stubborn Stains
When you encounter stubborn stains on your storage shelves, identifying the type of stain is essential for selecting the right cleaning solution.
For example, a paste of baking soda and water works wonders on tough stains, while a vinegar-water mix can tackle grime effectively.
Always remember to test any solution on a small area first to prevent damage to your shelves.
Identifying Stain Types
How can you effectively tackle stubborn stains on your storage shelves? Start by identifying stains based on their origin. This helps determine the best cleaning method.
- Grease and oil: Use a degreasing agent or baking soda to lift these stains.
- Food residues: Address food stains, particularly from sauces, immediately with warm, soapy water or a suitable stain remover.
- Mold and mildew: Combat these with a vinegar solution or a specialized cleaner to eliminate spores.
Effective Cleaning Solutions
Stubborn stains on storage shelves can be tackled effectively with the right solutions.
Start by mixing baking soda with warm water to create a paste; apply it directly onto tough spots and let it sit for a few minutes before scrubbing.
For greasy residues, combine vinegar and warm water—this natural degreaser will work wonders, and don’t worry, the vinegar smell will dissipate.
For general cleaning, use a solution of dish soap and warm water, allowing it to soak for stubborn patches.
Finally, for wooden shelves, a mix of lemon juice and olive oil cleans and conditions beautifully. Rinse with clean water afterward.
Ensuring Thorough Drying
To guarantee your storage shelves are free from moisture after cleaning, it’s crucial to focus on thorough drying.
Follow these steps to make sure everything stays dry and free from moisture buildup:
- Use a clean, dry microfiber cloth to wipe down shelves thoroughly, eliminating any dampness.
- Allow adequate air circulation by spacing shelves apart from walls or other objects for faster drying.
- In humid environments, consider using a fan to help air dry completely.
Monitor the drying process closely and don’t place items back on the shelves until they’re fully dry to avoid trapping moisture.
Organizing Items Back on the Shelves
Organizing items back on your cleaned storage shelves can transform a chaotic space into a functional one.
Start by categorizing items by type or how often you use them, keeping frequently used items at eye level. Use clear bins or labeled containers to clean them thoroughly and prevent clutter.
Remember to place heavier items on lower shelves for stability. This is your opportunity to organize while ensuring older items are at the front for easy access.
Regularly assess your collection, removing any loose dust and debris or items no longer needed. This way, you’ll maintain an efficient, tidy space for serving others.
Maintaining Cleanliness Moving Forward
While maintaining cleanliness might seem challenging, it becomes manageable with a consistent approach.
Maintaining cleanliness may seem daunting, but with a steady routine, it becomes an achievable task.
Here’s how you can keep your shelves clean and organized moving forward:
- Schedule Regular Cleanings: Aim for a monthly cleaning to prevent dust and grime buildup.
- Use Shelf Liners: They protect surfaces from spills and make cleaning easier.
- Keep a Microfiber Cloth Handy: Use it with water for quick daily dusting, ensuring your shelves remain clean.