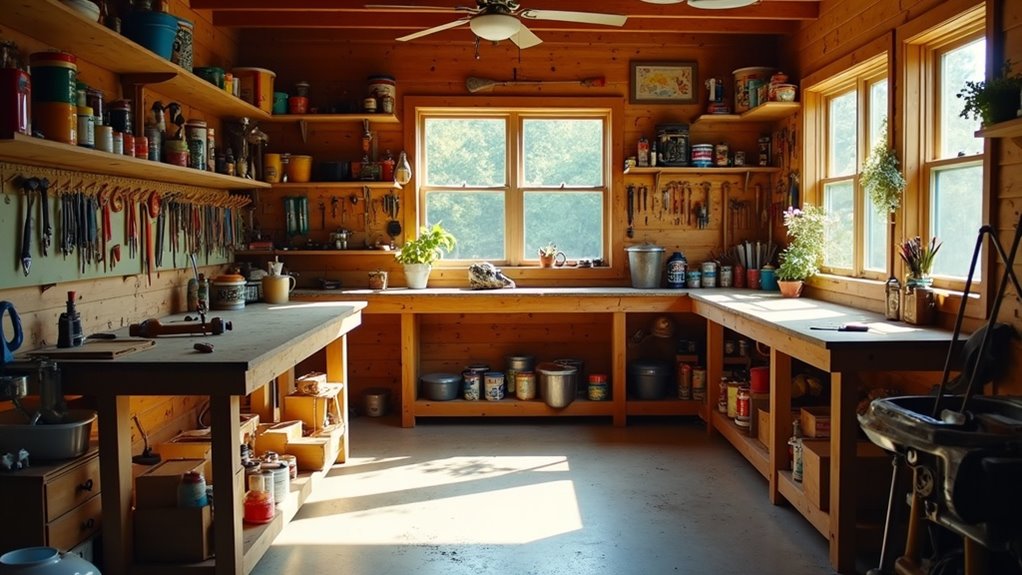
To set up your workshop corner, choose a space with minimal distractions and good natural light. Build a sturdy workbench using 2x4s and plywood for a solid surface. Organize tools on vertical shelves and pegboards to maximize space. Make sure to install bright LED lights and add comfortable seating for a welcoming atmosphere. Finally, personalize your corner with inspiring decor to boost creativity. There’s so much more to explore to make your workshop perfect!
Key Takeaways
- Choose a quiet space with natural light and minimal distractions for an effective workshop environment.
- Build a sturdy workbench using 2x4s and plywood for a reliable work surface.
- Organize tools with vertical shelving, pegboards, and labeled storage for easy access and efficiency.
- Install bright LED lights and adjustable task lighting to enhance visibility and comfort in the workspace.
- Personalize your corner with inspiring decor and comfortable seating to make it inviting and motivating.
Choosing the Right Space
When you’re selecting a corner for your workshop, it’s essential to pick a space that minimizes distractions and enhances safety.
Make sure the area is free from foot traffic, allowing you to focus on your projects. Access to natural light is vital, so choose a corner that brightens your workspace during the day.
Select a quiet corner with ample natural light to enhance focus and productivity in your workshop.
Additionally, evaluate the proximity to electrical outlets to power your tools without relying on long extension cords. Don’t forget to assess ventilation options for proper airflow, especially if you’ll be using equipment that generates dust or fumes.
Finally, consider height and width for effective shelving and storage solutions.
Building a Sturdy Workbench
A sturdy workbench is essential for any workshop, providing a reliable surface for your projects.
Start by constructing two vertical frames from 2x4s, securely mounted to the ground and positioned 22 inches from the wall for ample workspace.
Install shelving 18 inches off the ground to keep essential tools within easy reach.
For the top, use plywood sheets cut to eight feet, ensuring a level surface.
Reinforce the structure with additional 2x4s for cross-bracing to prevent wobbling.
Finally, finish with a protective coating or paint to extend its lifespan and maintain a clean, professional appearance in your workshop.
Organizing Tools Effectively
To effectively organize your tools, start by utilizing every corner of your workshop, as these often overlooked spaces can greatly enhance your storage options.
Install vertical shelving units for easy access while maximizing floor space. Consider rolling cabinets in corner areas to store frequently used tools, allowing for mobility and organization.
Maximize your workshop space with vertical shelving and rolling cabinets for efficient tool organization and accessibility.
Position tall tool chests nearby to streamline your workflow and reduce tool retrieval time. Implement a pegboard or tool wall to keep hand tools visible and accessible, minimizing clutter.
Regularly assess and reorganize your tools based on usage frequency, ensuring your workspace remains efficient and ready for service.
Enhancing Lighting and Comfort
While you focus on your projects, enhancing the lighting and comfort of your workshop corner can greatly boost your productivity.
Install bright LED lights to improve visibility, making it easier to locate tools and work on projects. Add adjustable task lighting for focused illumination without glare. Position fixtures to minimize eye strain, directing light downwards.
Incorporate natural light through windows or skylights to reduce reliance on artificial lighting during the day.
Finally, add comfortable seating and climate control options, like fans or heaters, to create a welcoming environment that encourages longer, more productive working sessions.
Personalizing Your Workshop Corner
Creating a personalized workshop corner enhances both creativity and motivation, allowing you to incorporate elements that truly reflect your style.
Consider these personalized touches:
- Custom Pegboard: Organize tools while displaying quotes or art that inspire you.
- Comfortable Seating: Add a small lounge area for relaxation and reflection, making your space multifunctional.
- Labeled Storage Solutions: Use bins or shelves that not only keep you organized but also showcase your unique approach.
These elements invite creativity and serve as a reminder of your passion for crafting and helping others.
Make it truly yours!