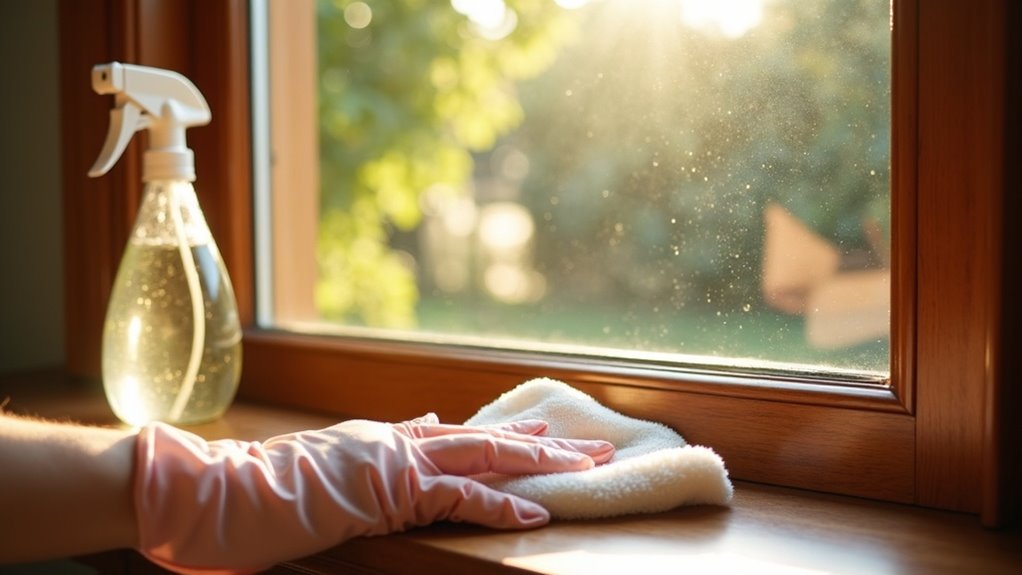
To wipe door frame dust, gather essential supplies like a microfiber cloth, small paintbrush, and vacuum. Start by dusting surfaces with the cloth or duster. Use the paintbrush to reach into grooves and corners, then vacuum the edges. For deeper cleaning, mix mild dish soap with warm water, and use it to wipe down the frame. To tackle stubborn stains, consider using baking soda or a vinegar solution. Stick around to learn how to keep your door frames spotless over time.
Key Takeaways
- Use a microfiber cloth or duster to gently remove surface dust from the door frame.
- Employ a small paintbrush to reach intricate grooves and cracks for thorough cleaning.
- Vacuum the top edges and corners using a nozzle attachment to eliminate dust buildup.
- Dust door frames at least once a week to prevent accumulation of dirt and grime.
- Focus on corners and crevices, using a toothbrush for precision cleaning in tight spots.
Gather Your Cleaning Supplies
To effectively wipe door frame dust, start by gathering your cleaning supplies.
You’ll need a microfiber cloth or duster, as these materials trap dust and dirt rather than spreading it around. A small paintbrush is essential for reaching into cracks and grooves where dust accumulates.
Use a vacuum with a nozzle attachment to eliminate dust from the top edges and corners.
Prepare a mild soapy water solution by mixing one tablespoon of dishwashing liquid with one gallon of water for any remaining grime.
Finally, keep a toothbrush handy for precision cleaning in tight spots to guarantee nothing is missed.
Dusting the Door Frame
Now that you’ve gathered your cleaning supplies, it’s time to focus on dusting the door frame.
Begin with a clean cloth or duster to remove surface dust from all visible areas. For those tricky spots, use a paintbrush to reach into cracks and grooves. A vacuum with a nozzle attachment can help you tackle the top edge and corners effectively.
Remember, regular dusting keeps build-up at bay, so aim for at least once a week.
- Use a microfiber cloth for gentle dusting
- Employ a toothbrush for delicate areas
- Don’t forget the paintbrush
- Vacuum the top edge and corners
Preparing Your Cleaning Solution
Before diving into the cleaning process, it’s essential to prepare an effective cleaning solution that won’t damage your door frame.
To clean your door safely, mix one tablespoon of mild dishwashing liquid in one gallon of warm water, creating a gentle soap solution. Always test this mixture on a small, inconspicuous area first to verify it’s safe for your finish.
For tougher stains, consider a solution of one cup of vinegar and four cups of water, but again, test it beforehand.
Remember to wring out your sponge or cloth well, preventing excess water from harming the door frame.
Wiping Down the Frame
To effectively wipe down the door frame, you’ll need essential cleaning tools like a clean cloth and a vacuum with a nozzle attachment.
Start by dusting the frame using a technique that reaches all the nooks and crannies, ensuring no dust remains.
Once you’ve cleared the surface, you can proceed with your cleaning solution for a thorough clean.
Essential Cleaning Tools
Cleaning a door frame effectively requires the right tools to guarantee every nook and cranny is addressed.
Here are some essential cleaning tools you’ll need to tackle dust efficiently:
- Microfiber cloth: Perfect for trapping dust without scratching surfaces.
- Paintbrush: Ideal for reaching grooves and corners where dust accumulates.
- Vacuum cleaner with nozzle attachment: Excellent for removing dust from the top edge.
- Soft toothbrush: Great for dislodging dust from intricate moldings.
Utilizing these tools will enhance your cleaning efforts and keep door frames looking pristine.
Follow these cleaning tips to maintain their integrity and appearance.
Dusting Techniques Explained
While dust might seem harmless, neglecting to wipe down your door frames can lead to a buildup that detracts from their appearance. Start by using a clean cloth or duster to remove surface dust, focusing on corners and grooves. For intricate molding, a clean paintbrush works wonders. Use a vacuum with a nozzle attachment to clean the top edge of the door frame, preventing smears. Regular dusting, ideally once a week, maintains a clean surface. After dusting, wipe the frame with a damp cloth to guarantee no particles remain.
| Step | Description |
|---|---|
| 1. Surface Dusting | Use a clean cloth or duster. |
| 2. Intricate Areas | Employ a clean paintbrush. |
| 3. Top Edge Cleaning | Utilize a vacuum with a nozzle. |
| 4. Frequency | Dust at least once a week. |
| 5. Final Wipe | Wipe with a damp cloth. |
Tackling Stubborn Stains
When it comes to tackling stubborn stains on door frames, identifying the type of stain is essential for choosing the right cleaning solution.
You can effectively use a vinegar-water mixture or a baking soda paste, depending on the stain’s nature and severity.
Additionally, implementing regular maintenance techniques will help prevent stains from becoming persistent issues in the future.
Identifying Stain Types
How can you effectively tackle stubborn stains on your door frames? Identifying the type of stain is essential for effective cleaning.
Here are common stains you may encounter:
- Yellowing from moisture exposure
- Black dust indicating mold or mildew
- Scuff marks from furniture or shoes
- General dirt and grime
To clean the door frame, assess each stain type.
Use a baking soda paste for yellowing, a vinegar solution for black dust, and a non-abrasive pad for scuff marks.
Early detection and maintenance can prevent these stubborn stains from becoming more severe, simplifying your cleaning routine.
Effective Cleaning Solutions
To effectively tackle stubborn stains on your door frames, it’s essential to choose the right cleaning solutions tailored to the specific type of stain.
A mixture of one cup of vinegar and four cups of water can efficiently eliminate grime while deodorizing. For tougher stains, create a baking soda paste by combining baking soda and water; let it sit for 5-10 minutes before gently scrubbing.
Always test any solution on an inconspicuous area first to prevent damage. Use a clean, non-abrasive pad to apply these cleaners, ensuring you remove stains without scratching the surface, thereby enhancing your door frames’ longevity.
Prevention Techniques
While it may seem intimidating, implementing effective prevention techniques can greatly reduce the occurrence of stubborn stains on your door frames. By prioritizing regular maintenance and being proactive, you can keep your door frames looking pristine.
Consider these strategies:
- Create a baking soda paste for occasional deep cleaning.
- Use a vinegar and water solution for tough stains, testing on hidden areas first.
- Dust weekly and wipe down monthly to minimize buildup.
- Seal gaps around doors and windows to prevent moisture.
These simple steps will help you effectively reduce stubborn stains and maintain the beauty of your door frames for years to come.
Maintaining Clean Door Frames
Maintaining clean door frames is essential for a tidy home, as dust and allergens can accumulate quickly, especially in busy areas.
Regularly dust your door frames at least once a week to prevent buildup. Use a clean, dry microfiber cloth or duster to capture dust effectively.
Don’t forget to pay attention to corners and crevices, utilizing a toothbrush or vacuum nozzle for thorough cleaning.
For deep cleaning, wipe down the frames monthly with a mild soap solution and rinse with a damp cloth.
Adjust your cleaning schedule based on visibility of dust and the presence of pets or children in your home.